


Using Django Static Files and Templates: Django Tutorial Part 2
Table of Contents
- Continuing our tutorial with Django static files and templates
- Where we left off last time, and what’s next
- Django staticfiles app
Continuing our tutorial with Django static files and templates
Django is made up of a few core components that we touched on in the last Django tutorial: Django Models make up the structure and behavior of data in a Django project, Django Views process incoming requests and provide responses, and Django Templates are populated with data and then rendered to the browser from the view response.
This tutorial we’ll touch on how to use Django Templates and the Django Staticfiles app to add logical structure to any Django project you’re working on.
(View What is Django? A Quick Django Tutorial Part 1 here)
Where we left off last time, and what’s next
For this tutorial, I will be using Django 2.1.7 and Python 3.6.7. You can access the code from this tutorial on Kite’s github repository.
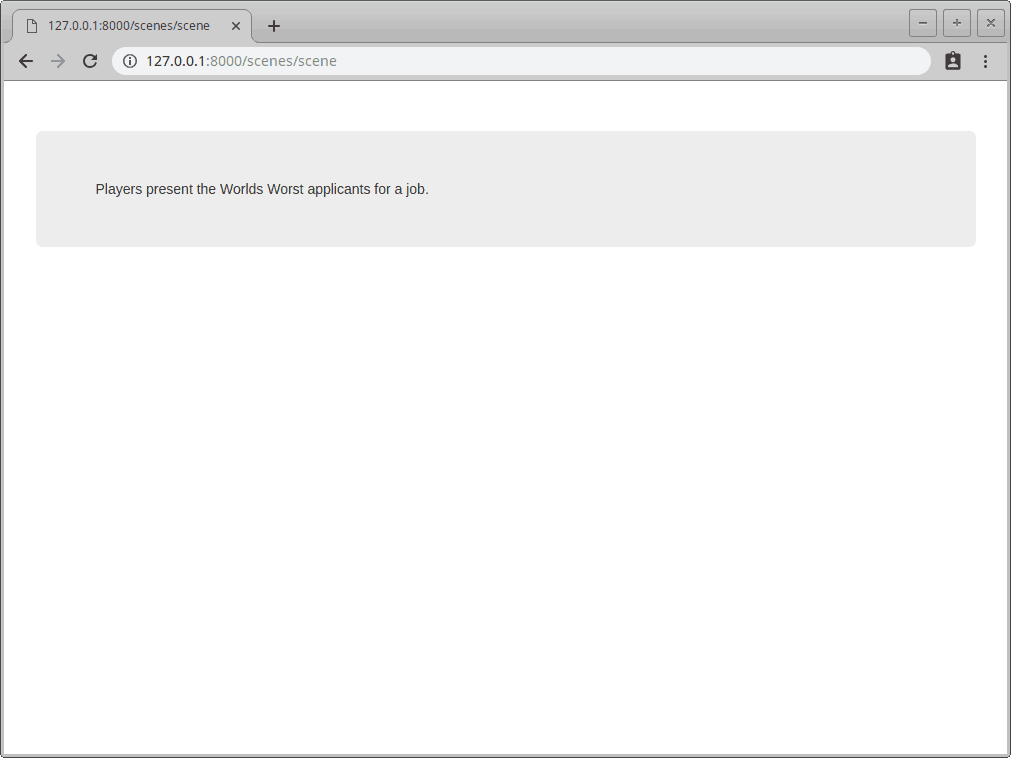
In the last Django tutorial, we created a basic Django project that, when hit from a browser, returns a random Scene for Improv friends to act out. The scenes are returned from a constants file, through a Template view. Our project looks like it is right out of 1983 but it works!
Now that we’ve gotten a taste of what Django can do, let’s dig deeper and use some more of Django’s built-in fun. In this part of the tutorial, we’ll:
- Take a deeper look at what Templates can do
- Configure our staticfiles settings so that any HTML and CSS files we add to the product are handled appropriately by Django
- Add Twitter Bootstrap to our project
As a reminder, the User Story we are working from is:
“As Improv party-goers, we want to get randomized scenes so we can act them out.”
Here’s what our project looked like after we finished the last tutorial:
Django staticfiles app
Configure staticfiles app in the project settings file
Before we get to any of the project’s frontend design, we need to change the default Django settings so that the `django.contrib.staticfiles` has the proper paths for where we want static files to live and be served from. Static files are what any CSS, JavaScript, and template files are called in Django.
Configuring the staticfiles app in Django gives us a couple things; Django will be able to collect static files from wherever they are in your project, including in apps that you install, into one location so that Django can then serve those files to the browser as they are requested. In addition to that, Django knows how to evaluate references to those paths within your templates, so in your templates, you can write {% static '/some/path' %} and that will work both in development and in production. This is because Django keeps track of where ‘static’ points to in the system even after static files are collected.
To configure the Django staticfiles app, we need to add STATICFILES_DIRS to our settings file. STATICFILES_DIRS is a `list` of all the places in which you have staticfiles. We just have one place, so we’ll just put that one place in the list. The directories in STATICFILES_DIRS must exist before collectstatic is run, as Django won’t create them for you. Then you need STATIC_ROOT which tells Django where to put the files after collection. This directory is created by Django based on the name you assign here, so you don’t have to create it beforehand.
Running Collectstatic for the first time
Running the collectstatic command shows that 140 files were collected – but we don’t have any static files in our static directory! The good news is that Django has templates and CSS built in for Django Admin, which we have installed in INSTALLED_APPS, by default.
Those files also have to be collected in order to be served by the web server. This isn’t specific to Django’s apps in our INSTALLED_APPS, as any apps you have installed in your Django project will have their static files collected by collectstatic.
Now that staticfiles is configured, we can add some CSS and JavaScript to our project to make it pretty and dynamic.
Bootstrap
My favorite way to quickly make a site look acceptable – or even great – is by using Bootstrap.
Bootstrap is arguably the internet’s most popular front-end framework. It provides a look and feel for a website, broken down into interface components. Each component has styles and optional JavaScript, which make the components act a certain way in the browser. You can check Bootstrap out here to learn more. For this tutorial though, we’re just going to install it as-is and leave it uncustomized.
You can download Bootstrap here which includes all the necessary CSS and JavaScript.
The only thing missing from the Bootstrap download is a bit of boilerplate HTML. They have some examples you can copy and paste, but I prefer to grab the index.html provided by Initializr, and download my Bootstrap files from there as well. The index.html that comes with Initializr has the HTML structure all laid out for us, and the libraries and CSS are already hooked in – which saves time when getting started.
Just remember to run collectstatic again when you add new static files to your project!
Django templates
While Django templates are meant to be light and don’t allow you to use python directly in them, that doesn’t mean they’re not useful. They’re actually much more than just an HTML document.
When the Django Framework renders the template, it looks for special characters in the template called template tags. These tags tell Django that when rendering the template to html, anything within template tags needs to be interpreted and executed.
The {% for foo in bar %} tags indicate some sort of logic, and the variable tags indicate that Django should evaluate a variable.
The Django templating system can be replaced with anything you can imagine. While you’ll certainly hear about other options when looking things up, I recommend sticking with Django.
The documentation is fantastic, and working in the stock Django template language will ensure that any information you find in the docs or throughout StackOverflow will more likely apply to any later problems you’ll encounter.
The Django templating system is one of the most fun parts of Django when it comes to the front end. You can do a surprising amount of fun stuff to your data by simply using the built-in template language tags and filters. However, if you need something that doesn’t exist yet, you can write your own template filters.
Keep in mind that you want the backend of Django to do the heavy lifting – not the templates or template filters.
If you’re writing a filter that does something complex, consider where that work actually needs to happen, and consider putting that logic into a helper method that your view calls on the data before that data gets into the template. The view will have the same data that your template generally does.
Django template inheritance
Django templates are inheritable through a template tag, {% extends %}. By using {% extends template_name_here.html %}, you can create a base template and have every other template in your project inherit from that one, so the entire project has a cohesive look and feel. In addition, if you need to make a change that affects every page, you’d only need to do it in one place versus having to change every individual template file. This makes template maintenance much easier as your project grows.
The common app
I like to put my base template in a new app called common. So let’s unzip the Initializr boilerplate and Bootstrap components and put them into our project.

Common base template
I prefix base templates with double-underscores (or Dunder) to indicate that they are only to be inherited from, not used on their own. This is a personal convention, modelled after the Python convention in PEP8 describing using descriptive names, that helps me know what templates go where and how they’re used based on the name. I will never have a view serve a template with a __ prefix in the name, because I know that based on the name, the specific template won’t behave when being served directly from a view. It must be inherited from the to function, as designed.
Once our boilerplate is in place, we need to actually use some of the facility provided by the staticfiles app. First we need to load the proper template tags from the staticfiles app, by placing {% load static %} at the top of our template, and then modify any path in the template with the {% static %} template tag, so that Django will put the proper location into rendered HTML files.
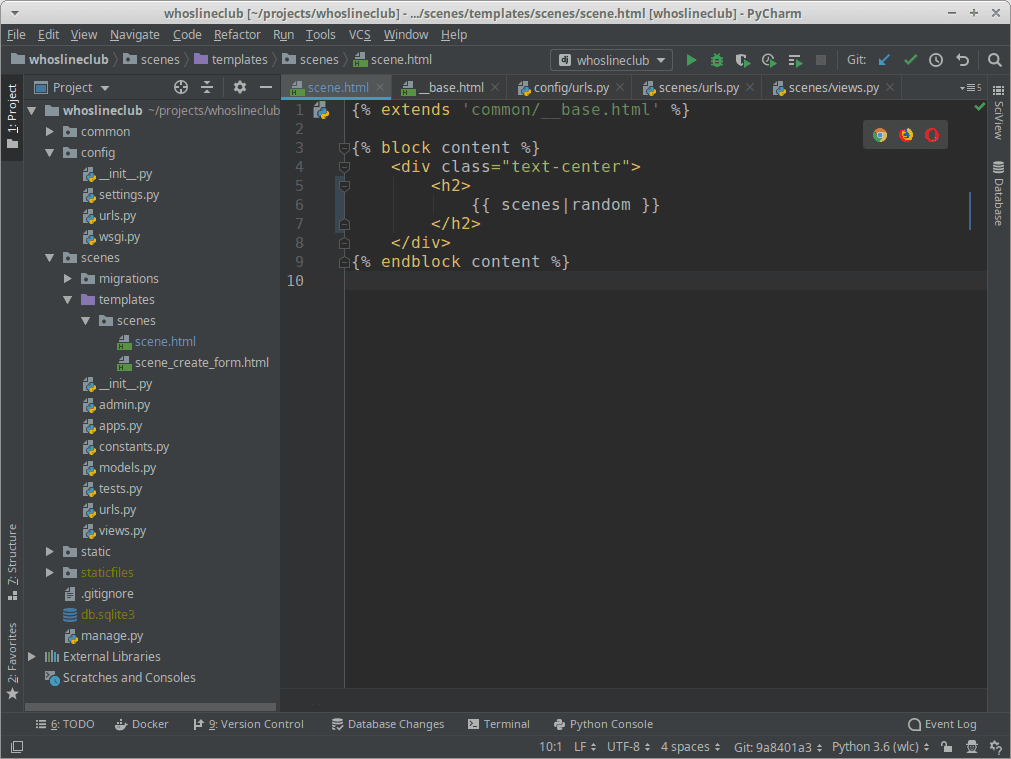
Creating our first child template
To make our templates inheritable, we have to set up {% block %} tags within the base (or parent) template, so the child templates that inherit know which parts to override.
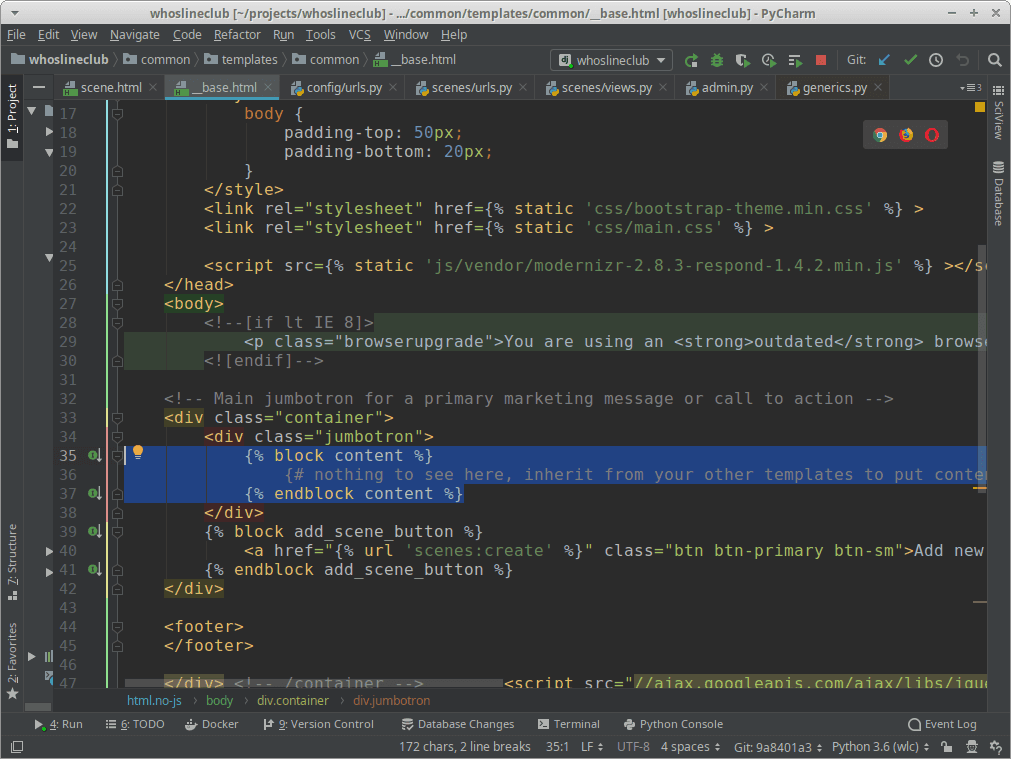
In the child template, you inform it about which template is the parent – or, which template to extend – and fill in the blocks with content to override the base template.

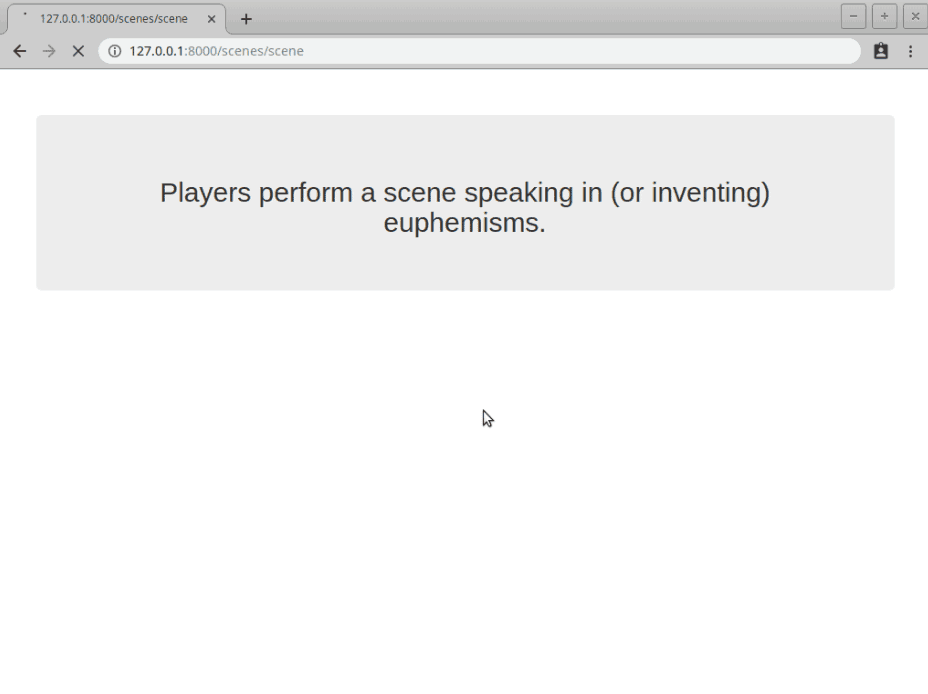
Django does the rest from there. As you can see, the page now shows the content of our child template, a random scene, but it’s displayed nicely using the Bootstrap styles and structure set up in the base template.
Using HTML and CSS to style template contents
Remember that templates are mostly just HTML pages, with special tags that let Django do runtime processing. You’ll be mixing your template tags and variables inside HTML, and once the templates run through Django to be served to the browser, the browser won’t know that you ever had anything but HTML in those pages.
We can use HTML and CSS standard markup and styling to make our variables look the way we want them to. Let’s center this now so it looks presentable.
Now we’re done, right? You and your friends can happily play Whose Line is it Anyway using your new app!
Having only three scenes to choose from will get old pretty quickly, though. The fact that those scenes are in a constant means neither you, nor your friends, can add to the scenes that are in the game without changing code.
Success! Your project is no longer ugly!
By taking advantage of Django Templates and the inheritance they provide, as well as best practices with the staticfiles app, not only is our project easier on the eyes, but will also be easy to maintain going forward.
Whether we’re adding templates, modifying the entire look of the project, or deploying the project to a new hosting environment, you can bet things will work as expected because of the steps we’ve taken in creating a well structured and maintainable project.
In the next part of the tutorial, we’ll be working with Django Models to take this project to the next level of usability.
Resources
 in San Francisco